AfterEffects is a really great tool when it comes to motion graphics and can be used for anything from quick video edits to movie style effects. It's capable of so much, yet the one thing it's always been poor at is character based animation.
Adobe introduced it's 'puppet pin' tool a while ago to try to help solve this problem, but it's first implementations were pretty clunky and didn't really work the way you'd expect. While that's still largely true, it has improved to the point where – as long as you get to grips with what it's good at and what it's not so good at – it can offer a workable solution to character based animation within After Effects.
So, when we recently picked up a video animation that involved character animation we were faced with the challenge – do we get an external cell-based animation company in to create something, or do we take on the challenge ourselves?
There are two basic ways to animate characters within AfterEffects. The first is to split the illustration up into it's component parts – ie. everything that should animate on it's own separate layer (hands, arms, legs, head etc.). There's some basic parenting tools to link one to another (eg. moving the hand moves the wrist which moves the forearm etc.) but it's not really set-up for full inverse kinematics (although I believe there are some interesting plugins that do offer this sort of functionality).
Here's an early character animation test using the above technique.

The second option is to use the Puppet Pin tool. This is essentially a rather clever variation of a 'deform' tool. So, while it does offer more flexibility (pun intended) it can result in some rather 'bendy' limb animations! Therefore the puppet tool is best used on illustrations that suit a more 'cartoonish' look. Whilst the puppet tool does some pretty advanced stuff, it can also get itself quite confused when you're trying to animate multiple elements on the same layer, so it's often worth combining the two approaches.
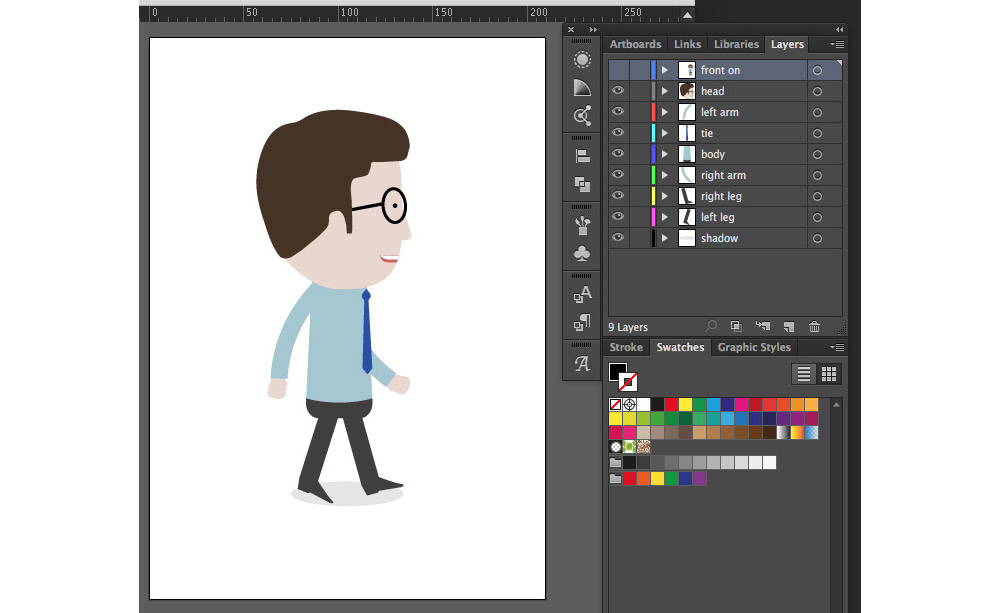
Once we had created the initial character for the animation storyboard it was time to split his component elements into separate layers for easier animation. You can export a vector file straight into AfterEffects – which is always preferable as you can then scale it to any size. However, it must be noted that the Puppet Pin tool can struggle a bit with vector artwork. Therefore it's best to scale to the right size in AfterEffects and then apply the Puppet Pin control points, rather than the other way around. As you can see below, his legs are looking a bit 'stiff' at the moment, but that's exactly what the Puppet Tool can help us rectify.
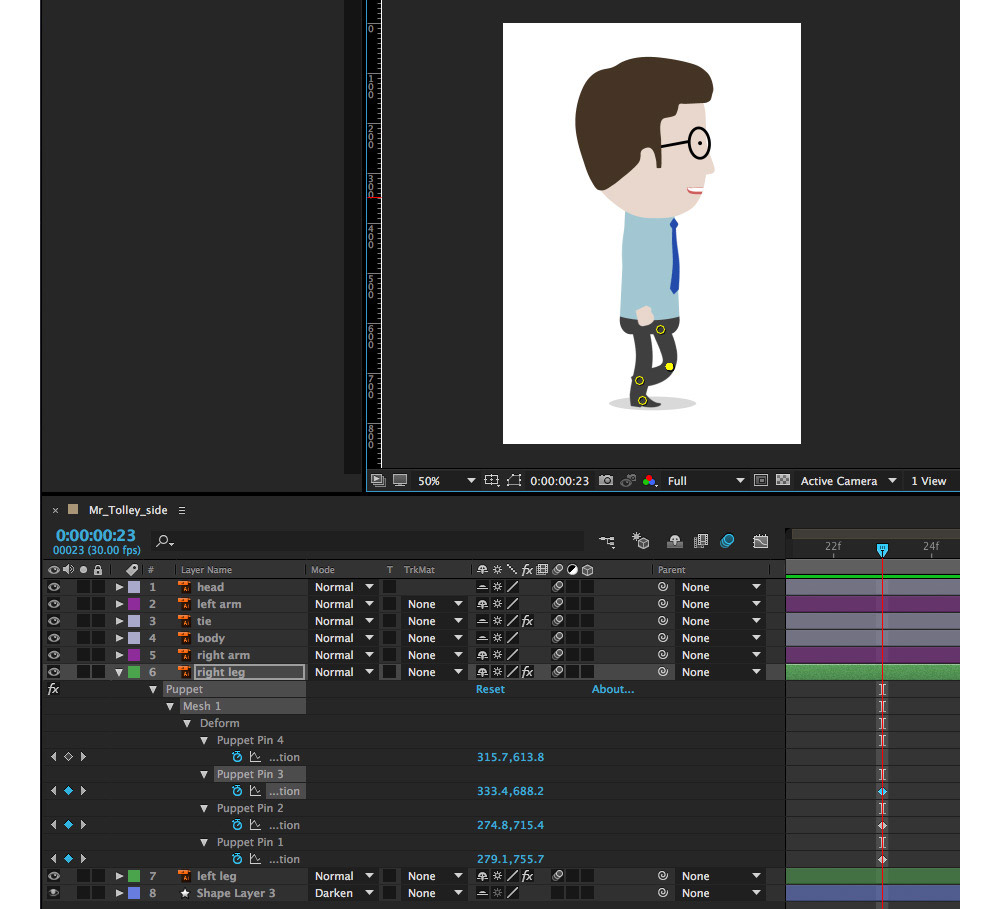
Once we've imported the Illustrator file into AfterEffects (retaining the individual layers) – we then select the layers we want to animate and apply Puppet Pin points to each of the 'joints'. These points are now animatable key-frames. So, we just move along the timeline, move a point by repositioning the puppet pin and continue till we've created a single walk cycle. As these points are not true bones you have to make sure that you're not stretching the limb out too far otherwise it will all look a bit too rubbery!
Whilst the Puppet Pin tool can work ok with elements all on a single layer, it can get tricky to manage elements that cross over each other, so it's often easier to split things into multiple separate layers. Below you can see the control points added to the right hand leg. Once the right leg is done, you just apply the same technique to the left leg. You could also do this to other areas of the body, but in this case I've just rotated the arms and nodded the head slightly - just to add a little life. You don't need that many keyframes to make a reasonable walk animation.
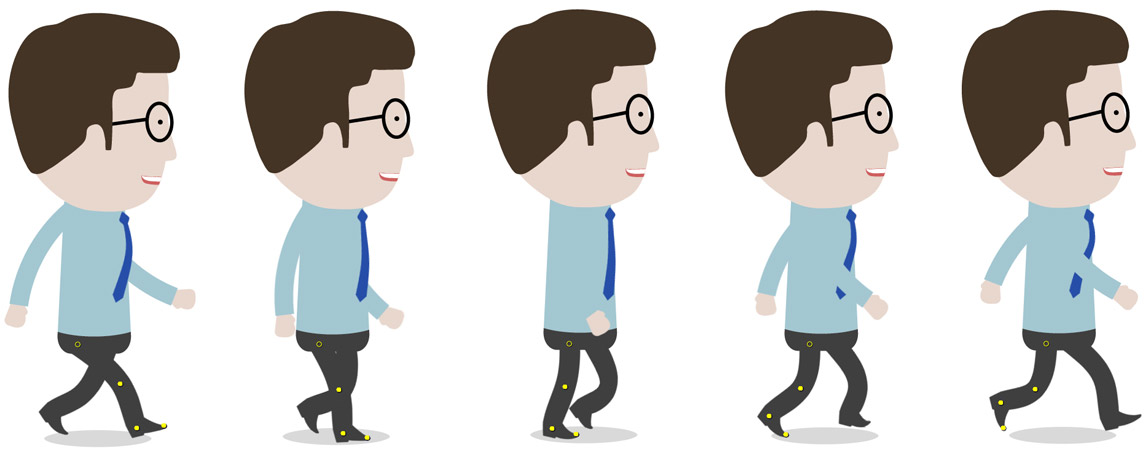
Here's the final result (slowed down a bit). Once you have the basic walk cycle you can just repeat the same keyframes as many times as needed, and move him around the screen accordingly.

The Puppet Pin tool might seem a little strange to work with at first, and it's certainly not the solution to all character animation problems within AfterEffects. But with a little playing around it's possible to bring simple characters to life in a way that would usually involve much more time and effort.